Remember these, I have made lots of them and everyone loves the bags. They have 4 good sized pockets 2 on the inside and 2 on the outside.
Sewing level Beginner to Intermediate.
Eileen, Sarah and I are going to make some to sell at the Murrumbateman Fields Days.
The Promised Tutorial
It may seem like a lot of steps but the bag takes about 1.5 hours to make and all straight sewing.
I am going to give Fabric.com a plug here. The are a fantastic company with the cheapest prices and very reliable. Go to www.fabric.com and then home decor for the fabrics used in all bags shown here. The fabric delivered to Australia is usually around $10 a 37" yard and they have a really good range.

Supplies
70 cm fabric. I use furnishing fabric where possible as it is firmer and more durable.
Scissors/Rotary cutter
Pins
Tape Measure
Matching thread
Store bought reusable tote bag. This one is from David Jones but most larger stores and supermarkets have them
Magnetic Snap Closure (optional)
Measure the width and length of your bag. Measure the length and width of the handles. Write down these measurements including seam allowance.
Here is what I wrote down
Using the Measurements you have written down add 1" seam allowance to the length and width of the body piece and the handles. This bag body measured 42" in width and 12" in length. I cut my body fabric at 43"X13". The handles were 24"x 2". I cut the handles 25"X 3"
Cut
1 piece for the body of the bag
2 strips for the handles
2 large pockets + 2 lining pieces
2 smaller pockets + 2 lining pieces
 |
Fold 1/2" seam allowance on each side of your handles and press
|

Pin the handles to the top side of the bag handles. |
Stitch the fabric to the handle 1/4 inch seam allowance.
Stitch down both side of the handles
 |
Pockets with linings cut out
|
Place the fabric right sides of the pocket fabric together and stitch around the pocket leaving a space at the bottom to pull through to the right side
Clip the corners before pulling through to the right side
I use a chop stick to push the corners out
 Iron all the pockets nice and flat
Pin the inside pockets as shown here
Stitch the inside pockets to the bag
Press 1/2 inch seam allowance to the top and botton of the body of the bag fabric
Sew the short sides of the bag fabric to make a tube.
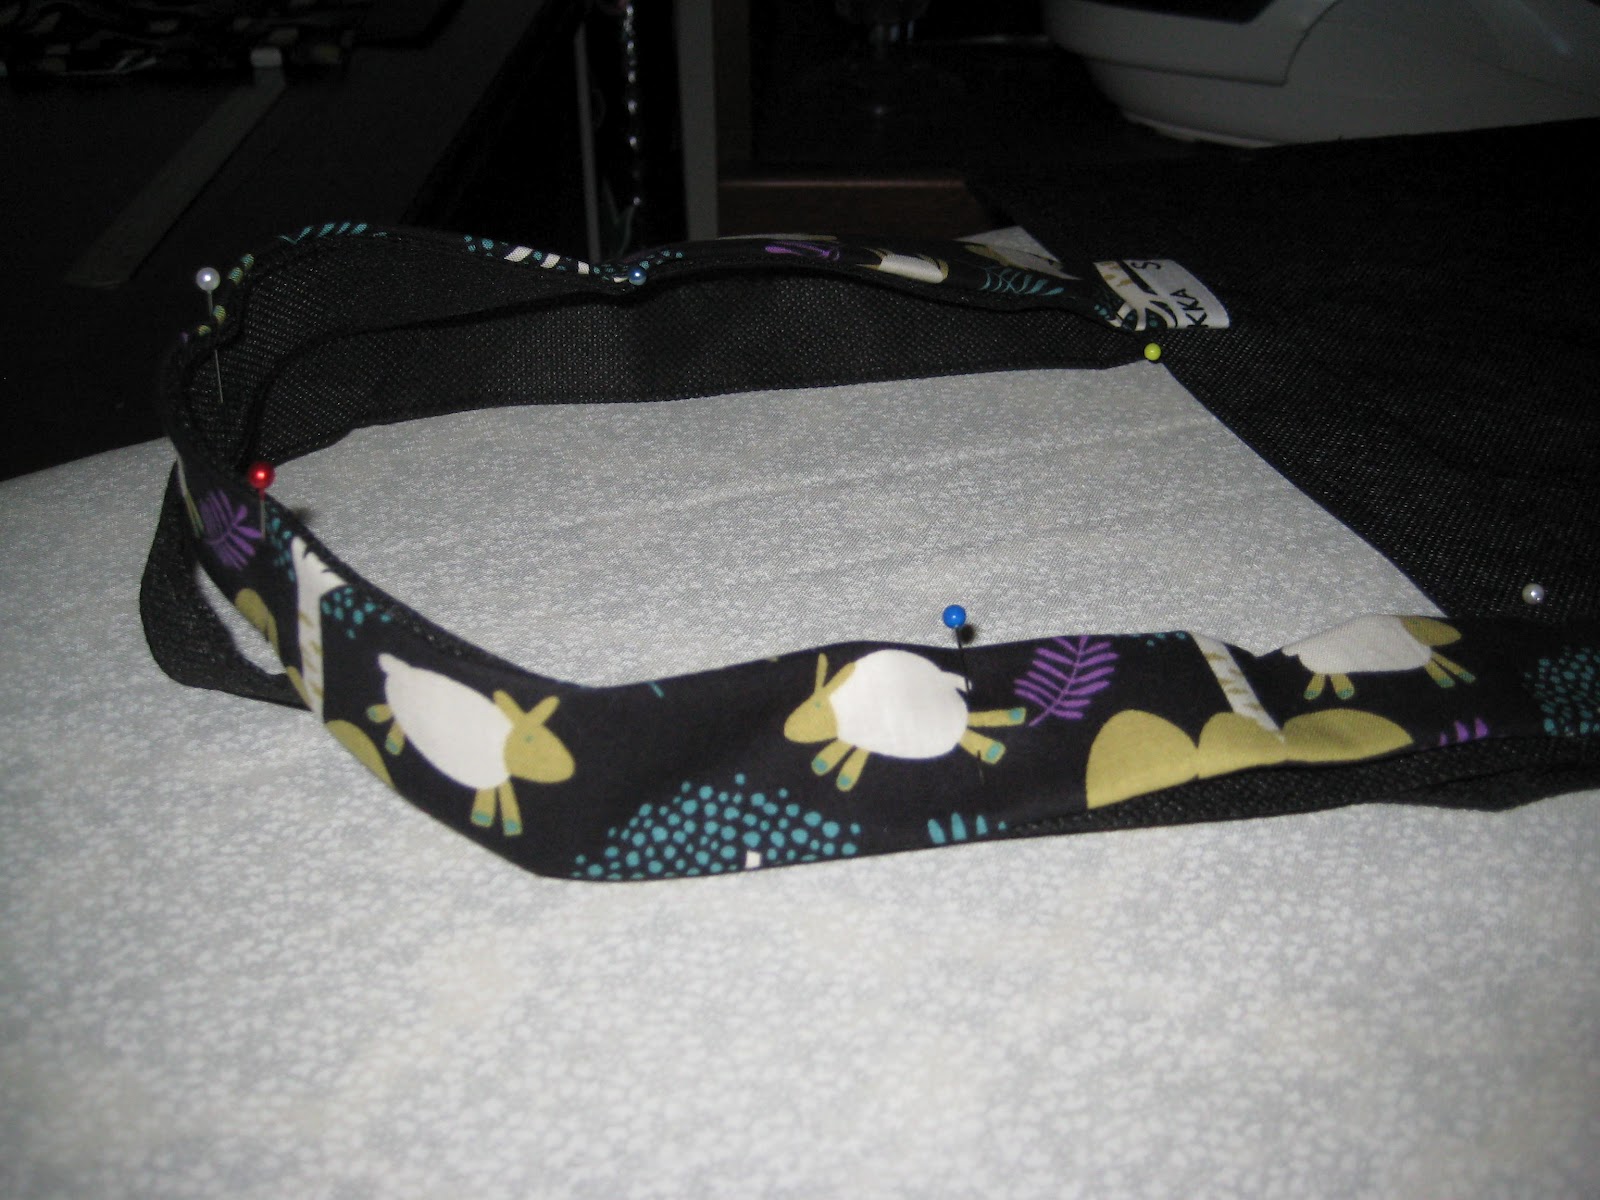
Pin the bag fabric tube to the tote bag.
Make the closure if, you decide to use one. A small pocket of fabic sewn on three sides. I put ironed some interfacing on the closure pocket to give it some strength. Leave the top open as it will be stitched with the bag fabric.
Place the closure button in place.
This is how mine worked
Mark the cutting lines using the back of the closure as your template. Cut smal slits in the fabric.
Place the top half of the closure on the bottom of the fabric then slide the back half into the pocket and secure
Pin closure in place on the bag. And place the other closure on the other side of the bag.
Stitch around the top of the bag. Stop at each corner and hop over the corner and then keep sewing to the next corner.
Stich down the cornes
Pin the outside pockets and stitch in place
Here the the finised bag
This is the view from the sewing room window. Must get too and wash the windows some day soon.
|




.jpg)